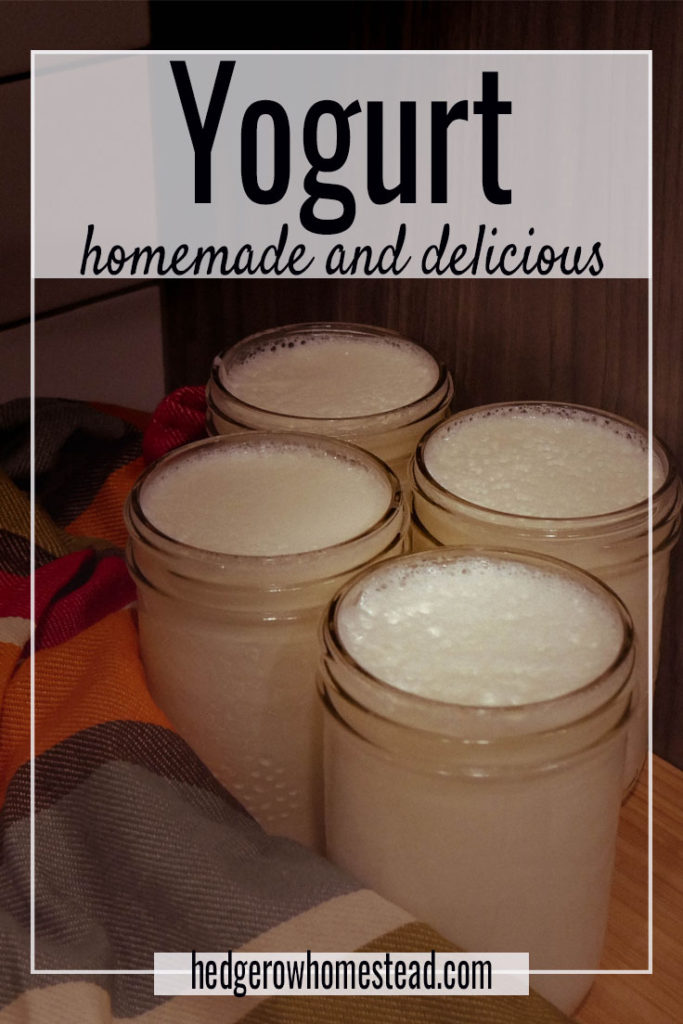
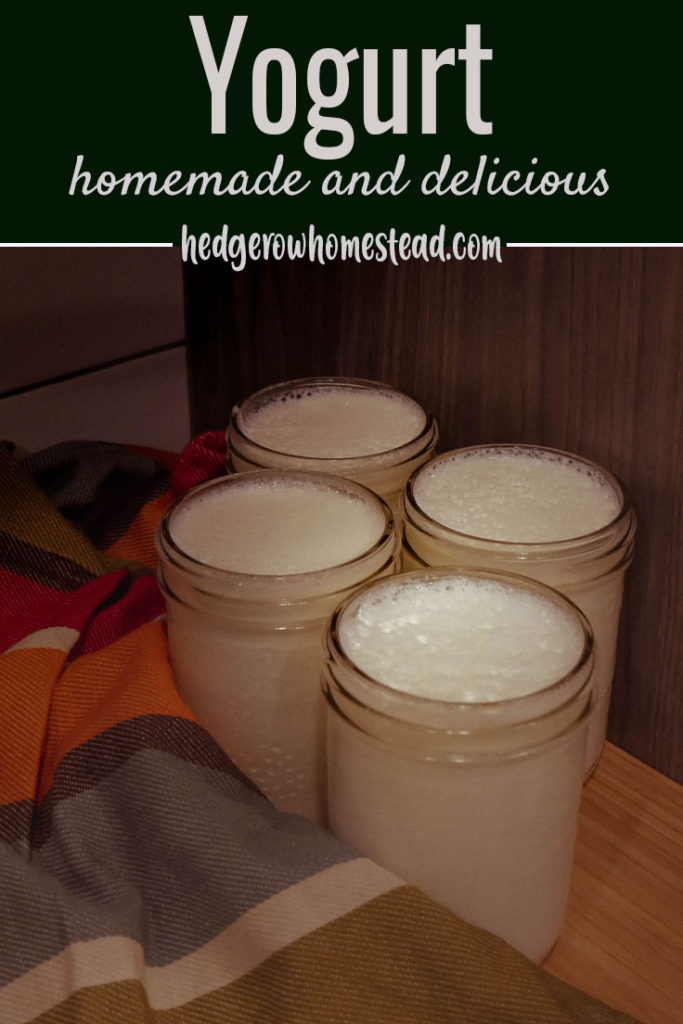
Simple Living: Homemade Yogurt
Homemade yogurt is so delicious and easy to make, especially in an Instant Pot. Whether you are interested in homesteading, simple living, or just want some tasty yogurt, this recipe is for you.
I have been trying to live life more simply and with intention. The past year has really allowed me to explore this aspect of myself in a way I had never anticipated.
I love making my own yogurt in my Instant Pot because I get to choose the ingredients that go into it.
Over the years, it seems like the ingredient list on store bought yogurt just gets longer and longer. Yogurt does not need a lot of ingredients to be tasty and delicious.
Homemade Yogurt Recipe
I know so many love to jump right to the recipe. That’s me as well – no need for a long backstory. Here is the recipe.
If you want tips and tricks, they can be found below the recipe.
Yogurt
Equipment
- Instant Pot
- thermometer
- optional: strainer and cheesecloth
Ingredients
- 8 cups 3.25% Milk also called whole milk
- 2 tbsp yogurt with cultures or starter
- 1 tsp sugar optional
- 1 cup powdered milk optional
Instructions
- Slowly heat your milk to 180 degreed Fahrenheit. Dissolving your sugar and powdered milk in the milk while it is heating.
- Allow milk to cool to between 115-120 degrees. Temper your starter by slowing whisking it into 1/2 cup of the warm milk. Add the inoculated milk back into the warm milk and gently stir.
- Incubate in your Instant Pot for 4-10 hours.
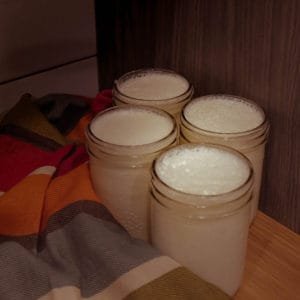
- Allow to sit for 2 hours at room temperature then transfer to the refrigerator.
Tips and Tricks For Making Homemade Yogurt
There are so many different ways to make yogurt.
Do you add sugar or not? How long should it incubate for? Do you like a thicker or thinner yogurt.
And then there are the environmental factors that will change how your yogurt turns out.
It might not be what you want to hear, but yogurt is an experiment and each batch is different. The best way to learn to make homemade yogurt is to just start trying. As you experiment with different additives, timing, and techniques, you will learn what you like and do not like about yogurt.
Over time, with lots of delicious yogurt in your belly, you will really begin to understand the process and how different factors change the final product.
I have made yogurt every 1-2 for a couple of years now. I have only ever had one failed batch of yogurt and that was an error on my part (forgot about and it over-cultured. It incubated for 15 hours. Do NOT recommend!) Besides that one incident, I have never had a bad batch. But I am still learning, every batch is slightly different as I try new things to find the perfect yogurt for me and my family.
Don’t be afraid to try.
Start With A Quality Starter
One of the most important part of making yogurt is starting with a good quality starter.
Each yogurt starter is a carefully balanced blend of bacteria that will transform your milk into yogurt, Each yogurt starter has a different blend which will change the taste and consistency of your homemade yogurt.
Yogurt Cultures
Cultures for Health is a company that has been around for a while and has been highly recommended to me if you want to buy a starter culture. There are many other companies that offer starter cultures and you can buy them on Amazon which makes it very accessible for many people.
Store Bought Yogurt
You can also use a good quality store bought yogurt that has active cultures in it. You want to make sure that it is an unflavoured yogurt with as few ingredients as possible. I have found the best success with a higher fat percentage – it seems to produce a thicker yogurt in our experience.
One issue with store bought yogurt is the strength of the culture – you may only be able to get two or three batches before it is too weak to culture another batch. When I buy store-bought yogurt as a starter, I freeze leftovers in ice cube trays. My ice cubes are approximately 1 tablespoon each so the cubes are already premeasured to add into my yogurt when I need it.
Freezing yogurt is also great, whether it is your own yogurt or store bought, because you ideally need to make another batch within a week of it being cultured. If you do not want to be making yogurt every week, a frozen culture will allow you to have a supply of starter culture for when you want to use it.
Probiotics
I have read in many dark corners of the interwebs that you can use probiotics to make yogurt. I have never had success with this and I also find probiotics to be so expensive that it is not worth the investment for me. My recommendation, skip the expensive probiotics and just buy a proper yogurt starter.
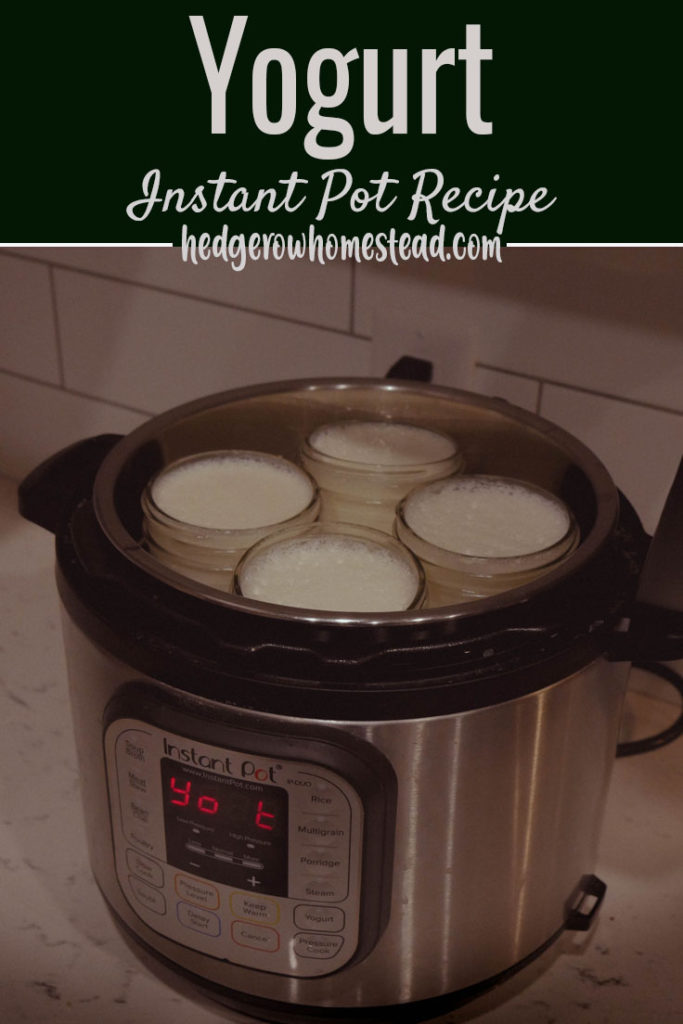
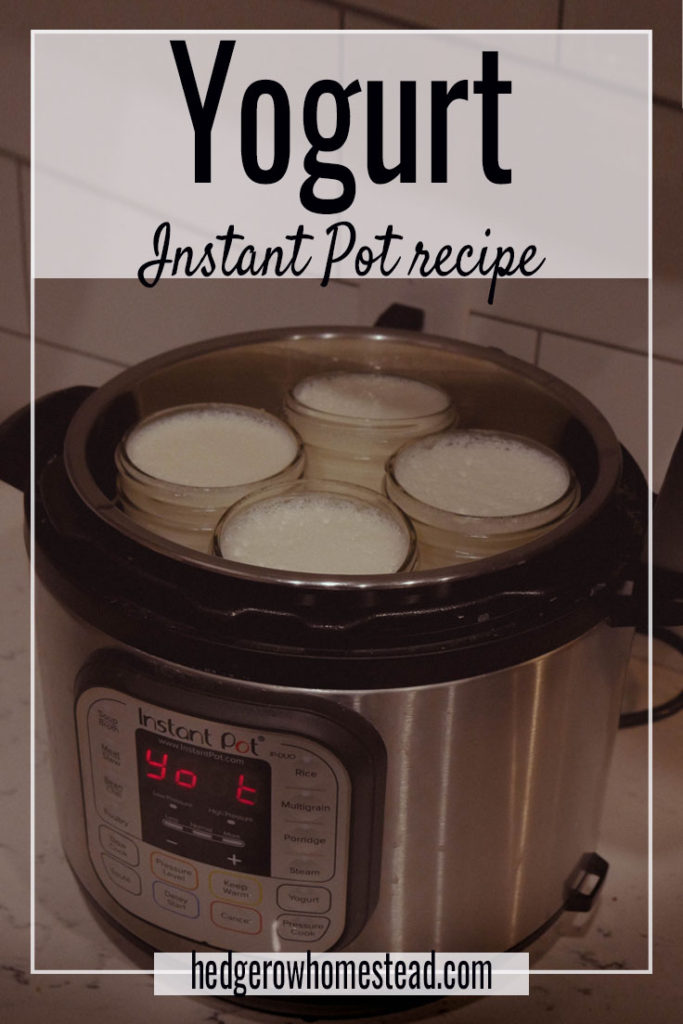
Incubating Yogurt In Jars
One thing I love about making yogurt in my Instant Pot is that I can allow the yogurt to incubate directly in the heat-safe jar. After your heated milk has been inoculated with your yogurt culture, pour it into jars and place the jars (without lids) into your Instant Pot.
Is this the best way to do it? Only you can answer this.
But I did find this to be a very convenient method to use when I was making smaller batches of yogurt.
My Instant Pot can fit 4 500ml mason jars. When we first were experimenting with yogurt, this was a great amount. The above recipe fits in these jars. But now I double my recipe and prefer to have the yogurt simply culture in pot insert.
Heating The Milk: Stove Top Or Instant Pot?
When I was allowing my yogurt to ferment/incubate in the jars, as mentioned above, I would heat my milk on the stovetop.
While the Instant Pot is not difficult to clean, I find my pots clean better and I am not concerned about any flavour transfer from previously cooked foods (see next tip). I also find that I have more control over the heating process when using my stovetop.
To heat the milk in the Instant Pot, you hold down the yogurt button until it says boil. Then it heats up – but I have no clue how fast it will heat up. Is it comparable to a medium heat on a conventional stove? I do not know. That uncertainly leads me to typically want to just use my stove.
But when I am making a larger batch and culturing my yogurt directly in the Instant Pot, not jars, I will use the boil feature just so I do not have to dirty another pot.
Clean Your Instant Pot Before You Start
I am sure your Instant Pot is clean. There is no doubt in my mind that you washed it after you last used it…
But I HIGHLY recommend rewashing your pot and making sure it is extra clean.
I have heard stories about people cooking beans or a beef roast in their Instant Pot before making yogurt. They thought they had cleaned their pot well enough. Bean or beef flavoured yogurt does not sound appealing to me. Flavours can transfer. Take a few extra minutes to make sure this doesn’t happen.
Don’t forget about the seal as well!
I, actually, remove the seal entirely when fermenting my yogurt. Some people will buy a replacement to use just when making yogurt but I just remove mine.
Straining Your Yogurt
If you like a really thick yogurt, you may want to strain your yogurt.
I use a mess strainer lined with cheesecloth to strain my yogurt.
There are time when I do not feel the need to strain my yogurt and other times it needs to be done. I judge it on a batch by batch basis.
When making yogurt in the jars, it is harder (well, messier) to strain the yogurt as it is already nicely stored in jars. But if you make it in one big batch, it is easy to strain before transferring to jars to strain.
I find that it is best to wait until the yogurt has chilled in the fridge for at least 6 hours before straining. Starting my yogurt in the morning allows it set in the fridge over night. I will check the next morning to see if I want to strain it. Most of the time, especially since adding powdered milk, I do not need to strain it.
Homemade Yogurt Additives
Lets take a moment to discuss additives.
Milk and your culture is all that you need to make yogurt.
I, personally, like to add 2 additives to my family’s yogurt.
I add a small amount of sugar. The first super successful batch (great texture, great flavour) was made using a recipe that called for sugar. There are many times that I have forgotten the sugar and the yogurt still turns out great. But because of that one batch, I add a little bit of sugar.
The other additive I have been experimenting with recently is powdered milk. I came across this additive while researching how to make yogurt thicker. Powdered milk can make homemade yogurt thicker and it also increases the protein content of the yogurt.
You do not need to add any additional things to you yogurt but go ahead and experiment. There are many websites that share additives that you can try while on your journey to discovering your perfect yogurt.
Books About Fermentation and Yogurt
I love to learn as much about what I am experimenting with in the kitchen. I do this because it gives me better control of the final outcome when I understand the dynamics involved.
Cultures for Health is a great website with all kinds of information.
I also have a collection of books that I have read. Many of these I borrowed from my library and a few I purchased as ongoing resources.


Homemade Yogurt
I hope you enjoyed this post and try and make your own homemade yogurt.
If you do, feel free to tag us on Instagram!
Once our yogurt is ready for consumption, there are so many ways to use it. We put yogurt in smoothies. We will mix a bit of homemade jam into it for a flavoured yogurt. Serving yogurt with granola and fresh fruit is always a favourite breakfast in our home. You can also just enjoy it as it is! Homemade yogurt is so delicious and way better than anything you would find in the stores.
Enjoy!