11 Seed Starting Tips for a Thriving Garden
Starting seeds indoors is one of the best ways to get a head start on the growing season! But if you’ve ever struggled with weak seedlings or poor germination, you’re not alone. We all could use some seed starting tips. Many gardeners face challenges when starting seeds, from damping off disease to insufficient light.
In this guide, we’ll walk you through 11 essential seed starting tips to help you grow strong, healthy plants. Whether you’re a beginner or a seasoned gardener, these expert-backed tips will set you up for success!

1. Choose the Right Seeds for Your Growing Zone
Not all seeds thrive in every climate, and picking the right ones can make or break your gardening success. Before you start planting, it’s essential to choose seeds suited for your growing zone and conditions.
This does not mean you cannot grow these seeds in your climate – you may need to start these plants indoors, or in a greenhouse. Even growing conditions throughout the season may need to be adapted to make sure the plant is growing in conditions that will allow it to thrive.
Understand Your USDA Hardiness Zone
The USDA Hardiness Zone Map helps gardeners determine which plants are most likely to thrive in their region based on average annual temperatures. Look up your zone and check seed packets or online descriptions for recommended growing conditions.
This applies mostly for perennials. If, like me, you live in a cold climate (zone 3), perennials that are suitable for zone 7 will not survive our winter. Zones are not important for annuals, especially those you plan to start inside in seed starting trays or grow in a greenhouse.
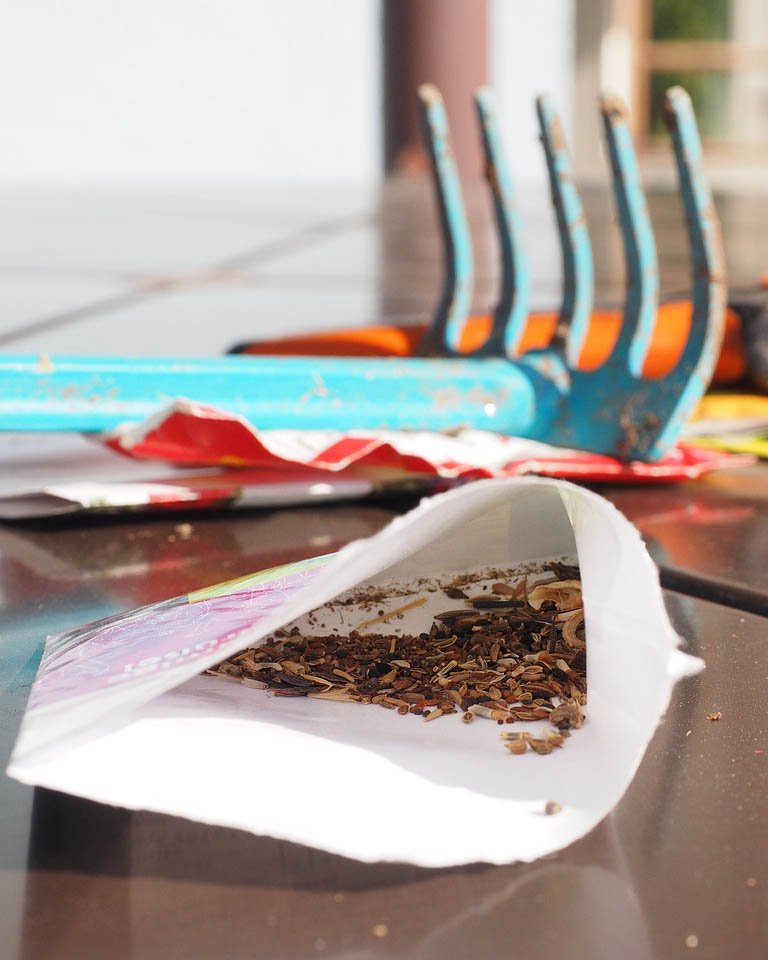
Read Seed Packets Carefully
Seed packets contain valuable information, including:
- Days to Germination: How long it takes for the seeds to sprout
- Planting Depth: How deep to sow the seeds in the soil
- Spacing Requirements: How far apart seedlings should be
- Best Planting Time: Whether seeds should be started indoors or sown directly outdoors
Consider Your Growing Season Length
If you live in a region with a short growing season, prioritize fast-maturing crops like lettuce, radishes, and bush beans. Gardeners in warmer climates with long seasons can experiment with slower-growing plants like peppers and tomatoes.
Source High-Quality Seeds
For the best germination rates and healthiest plants, buy seeds from reputable suppliers. Look for heirloom, organic, or disease-resistant varieties based on your preferences.
Some trusted seed sources that I purchase from include:
- Baker Creek Heirloom Seeds
- West Coast Seeds
- Burpee
- McKenzie Seeds
Pro Tip: Try Seed Starting with Easy Crops First
If you’re new to starting seeds, begin with forgiving crops like basil, marigolds, zinnias, or cherry tomatoes. These germinate easily and give you a confidence boost before tackling trickier seeds like peppers or lavender.
By selecting seeds that match your climate, soil, and experience level, you’ll set yourself up for a successful growing season right from the start!
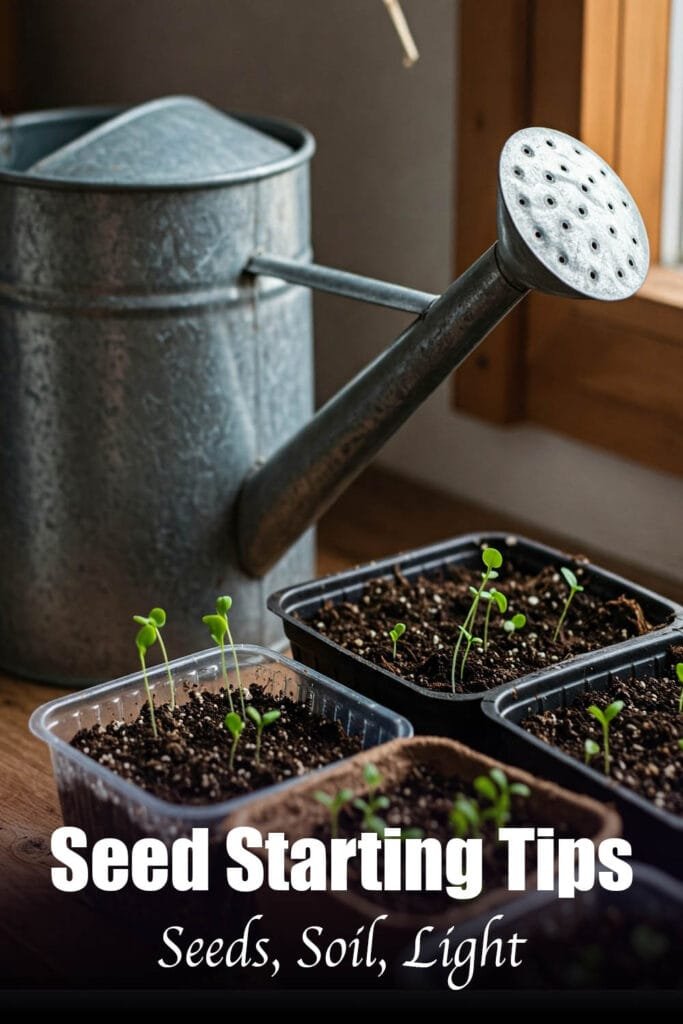
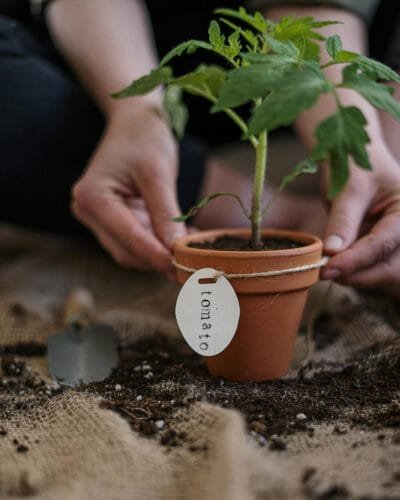
2. Use High-Quality Seed Starting Mix
The soil you start with can make all the difference!
Regular garden soil is too heavy for delicate seedlings and can lead to poor drainage, compaction, and disease. Instead, use a lightweight, well-aerated seed starting mix designed to promote healthy root development.
3. Pre-Soak, Cold Stratify, or Scarify Tough Seeds
Some seeds have tough outer shells that slow down germination.
To speed up the process, you can pre-soak or scarify them before planting. Pre-soaking involves soaking seeds in warm water for 12–24 hours to soften the shell, while scarification means gently scratching or nicking the seed coat with sandpaper or a nail file to help moisture penetrate. Hard-coated seeds like morning glories, nasturtiums, and sweet peas benefit from these techniques, leading to faster, more consistent germination.
Some seeds will not germinate until after they have been exposed to cold temperatures. For these, you can put the seeds in the refrigerator for a few weeks to cold stratify the seeds, improving germination.
Just be careful—not all seeds need pre-treatment, so always check seed packet recommendations!
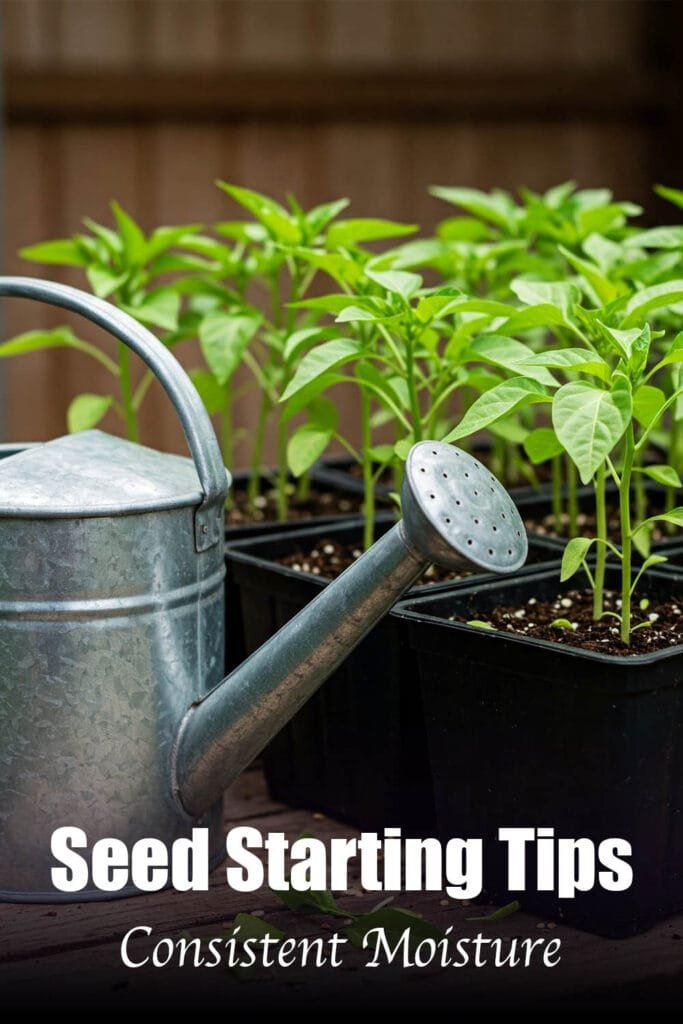
4. Provide Consistent Moisture Without Overwatering
Keeping your seeds evenly moist is crucial for germination, but too much water can cause problems like damping off disease or mold growth.
The key is to maintain a slightly damp, but not soggy soil. Using a spray bottle or bottom watering (where trays absorb water from below) helps prevent disturbing delicate seedlings. A humidity dome can also retain moisture until seeds sprout, but be sure to remove it once seedlings emerge to avoid excess humidity.
If in doubt, do the finger test—if the top of the soil feels dry, it’s time to water!
5. Maintain the Right Temperature for Germination
Temperature plays a huge role in seed germination! If the soil is too cold, seeds may sprout slowly—or not at all. Each plant has an ideal temperature range for germination, and keeping your seed trays within this range can significantly boost success rates.
Optimal Temperature Ranges for Common Seeds
- Cool-Season Crops (45–70°F / 7–21°C): Lettuce, kale, spinach, peas
- Warm-Season Vegetables (70–85°F / 21–29°C): Tomatoes, peppers, cucumbers, eggplants
- Flowers & Herbs (Varies): Basil (70–75°F), marigolds (70–75°F), lavender (65–70°F)
Using Seedling Heat Mats for Warm-Season Crops
For plants like tomatoes and peppers that need extra warmth, a seedling heat mat is a game-changer. These mats gently warm the soil to ideal germination temperatures, speeding up sprouting and improving seedling health. Just be sure to remove the mat once the seeds have sprouted to prevent overheating.
How to Monitor Soil Temperature Effectively
A soil thermometer is the best way to ensure your seed-starting mix stays within the ideal range. Insert it into the soil near your seeds and adjust room temperature, heating mats, or tray placement accordingly. If your space is too cold, placing trays on top of the refrigerator or near a heat source can also provide gentle warmth.
By maintaining the right temperature, you’ll encourage strong, uniform germination and give your seedlings the best possible start!
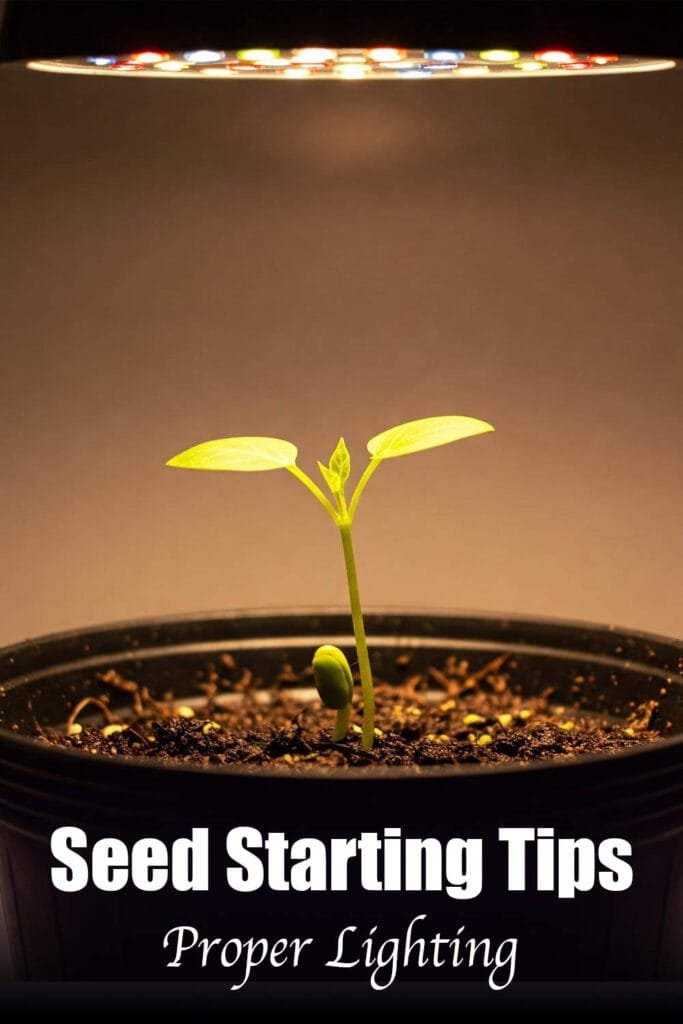
6. Ensure Proper Lighting for Strong Seedlings
Light is one of the most important factors in growing healthy seedlings!
Without enough light, seedlings become leggy, weak, and pale as they stretch toward the nearest light source. While a south-facing window may work for some plants, most seedlings thrive under grow lights for 12–16 hours a day. LED or fluorescent grow lights positioned 2–4 inches above seedlings provide the ideal brightness without overheating them. Using an automatic timer ensures consistent light exposure, helping seedlings develop strong stems and vibrant green leaves.
We use LED shop lights and a timer for our seed starting set up.
7. Provide Good Air Circulation to Prevent Disease
Stagnant air can lead to fungal diseases like damping off, which can wipe out young seedlings overnight.
To keep your plants healthy, ensure good airflow around your seed trays. A small fan on a low setting helps strengthen stems and reduces excess moisture that encourages mold growth. Spacing seedlings properly and avoiding overcrowding also improves air circulation. Regularly opening windows or gently stirring the air around your plants can further prevent disease and promote strong, sturdy growth.
If using grow lights, you can plug the fan into the same timer as your light set up and this will mimic mother nature. The wind tends to blow more during daylight hours and is calmer at night.
I like to use a tower fan because I have a tall metal shelving unit rack that I used to start my seedlings. This allows the airflow to hit multiple levels of the rack.
8. Know When to Transplant Seedlings
Transplanting seedlings at the right time is crucial for their survival and future growth. Moving them too early can result in weak plants, while waiting too long can lead to root-bound seedlings that struggle to adapt.
Signs Your Seedlings Are Ready for Transplanting
- They have at least two to four true leaves (not just the first seed leaves).
- Roots are visible at the drainage holes but not overly tangled.
- The plants are sturdy, not leggy or weak.
How to Harden Off Seedlings Before Moving Them Outdoors
Before planting seedlings in the garden, they need to adjust to outdoor conditions through a process called hardening off:
- Start by placing seedlings outside in a shady, sheltered spot for a few hours a day.
- Gradually increase sun exposure and outdoor time over 7–10 days.
- Avoid transplanting during extreme weather—choose a calm, cloudy day to minimize stress.
Best Transplanting Techniques to Minimize Shock
- Water seedlings well a few hours before transplanting.
- Handle by the leaves, not the stems, to prevent damage.
- Plant at the same depth as they were in their containers (except tomatoes, which can be planted deeper).
- Gently firm the soil around the roots and water thoroughly after planting.
By transplanting at the right time and using proper techniques, you’ll help your seedlings adjust smoothly and thrive in their new environment!
9. Label Your Seed Trays to Stay Organized
Keeping track of what you’ve planted is essential for successful seed starting, and labeling your seed trays is a simple yet effective way to stay organized.
Don’t rely on remembering what you planted. I have attempted this and always forget what variety or plant it is. Labeling is quick and easy to do.
Use waterproof and fade resistant markers on plant labels to clearly mark each variety, including the seed type and planting date. This not only helps you remember what you’ve sown, but it also allows you to track germination rates and growth patterns. If you’re feeling crafty, you can create color-coded labels for different plant families or write planting notes on popsicle sticks for easy reference.
Staying organized will help you care for your seedlings better and ensure a successful transition to the garden!
10. Feed Seedlings the Right Nutrients at the Right Time
Providing the right nutrients at the appropriate time is crucial for the healthy development of your seedlings.
Generally, seedlings don’t need fertilizer until they have developed a few sets of true leaves, as the seed starting mix usually contains enough nutrients for early growth. Once your seedlings are ready, use a diluted liquid fertilizer with a balanced nutrient ratio, such as 20-20-20, to encourage robust growth. Feed them every 1-2 weeks, but be cautious not to over-fertilize, as this can lead to nutrient burn and stunted growth. Monitoring your seedlings’ appearance—lush green leaves indicate healthy growth, while yellowing leaves may signal nutrient deficiencies—will help you adjust their feeding schedule accordingly.
By providing the right nutrients at the right time, you’ll set your seedlings up for a thriving garden!
11. Troubleshoot Common Seed Starting Problems
Even the most experienced gardeners can encounter challenges when starting seeds. Knowing how to troubleshoot common problems can save your seedlings from setbacks and ensure a successful growing season.
Leggy Seedlings: Causes and Solutions
Leggy seedlings occur when they stretch toward insufficient light, resulting in weak, tall plants. To combat this, ensure your seedlings receive adequate light for 12–16 hours daily. If they become leggy, gently bury them deeper during transplanting to promote stronger root systems.
Moldy Soil: Prevention and Treatment
Fungal growth on the soil surface can be a sign of excessive moisture and poor air circulation. To prevent mold, ensure proper airflow and avoid overwatering. If you notice mold, you can sprinkle a thin layer of cinnamon or vermiculite on the surface to deter it and allow the soil to dry out slightly.
Slow or Uneven Germination: Possible Reasons and Fixes
Slow or inconsistent germination can stem from a variety of factors, including temperature fluctuations, outdated seeds, or improper planting depth. Always check seed viability before planting and use a soil thermometer to ensure optimal temperatures. If you suspect poor germination, try re-sowing seeds in fresh mix or using a seedling heat mat to encourage uniform sprouting.
By being proactive and addressing these common issues, you can keep your seedlings healthy and on track for a vibrant garden!
Seed Starting for a Thriving Garden
Starting seeds indoors is an exciting and rewarding process that sets the stage for a flourishing garden!
By following these 11 seed starting tips, you’ll not only enhance germination rates but also nurture strong, healthy seedlings ready for transplantation. Remember to choose the right seeds for your growing zone, provide consistent moisture without overwatering, and ensure your seedlings get adequate light and air circulation. Don’t forget the importance of feeding them the right nutrients at the right time and troubleshooting common seed starting problems as they arise. With a little patience and care, you’ll transform those tiny seeds into vibrant plants that will thrive in your garden.
Ready to start your seed starting journey? Gather your supplies, select your favorite varieties, and dive into the wonderful world of gardening! Share your experiences and ask questions in the comments below—let’s grow together!